
How to get rid of swirl marks
By Master Instructor of Beverly Hills Mclaren, Pagani, Lamborghini, and the President's jet.
If you're reading this, you've probably seen your car under some light and noticed that your car has some kind of light scratches.
Well, those are called swirl marks and are by far one of the most common concerns for a car's paint today. But don't worry, in this article, we are going to show you how to remove them, so you can have your car looking brand new once again.
First of all..
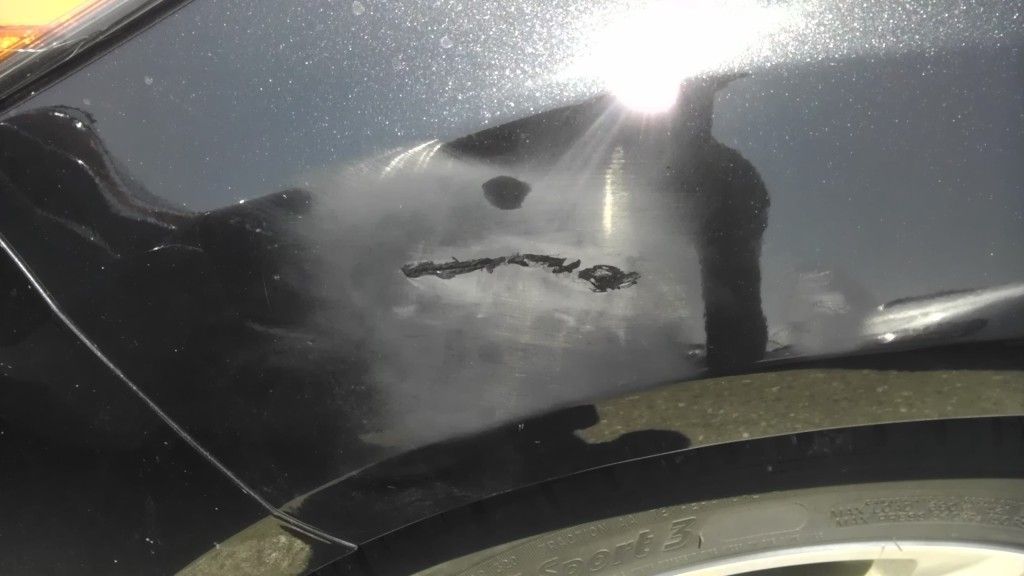
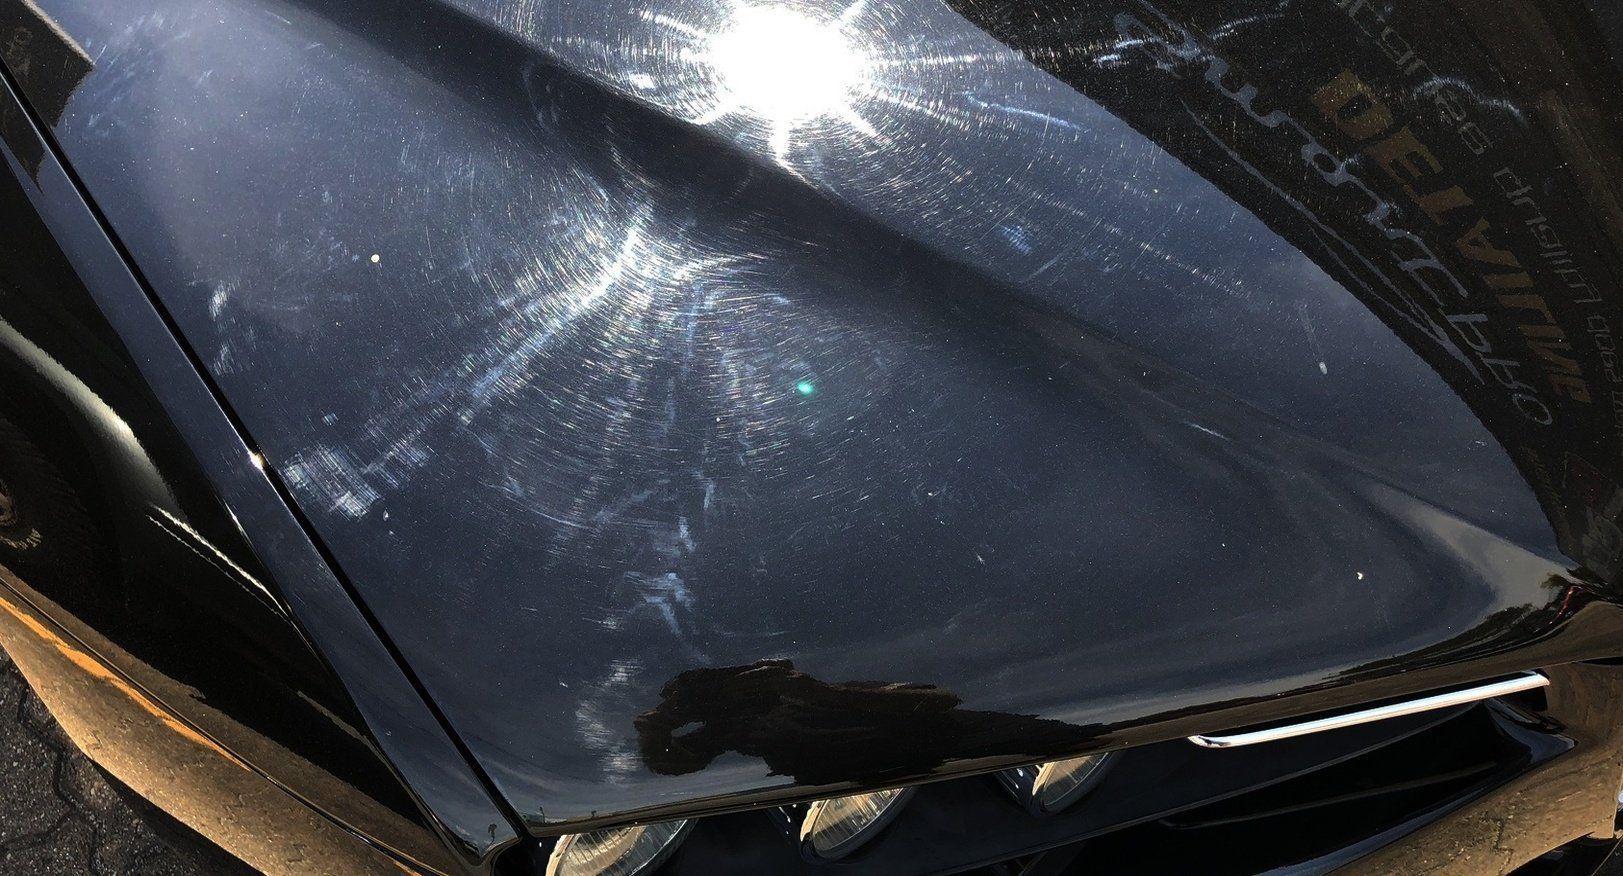
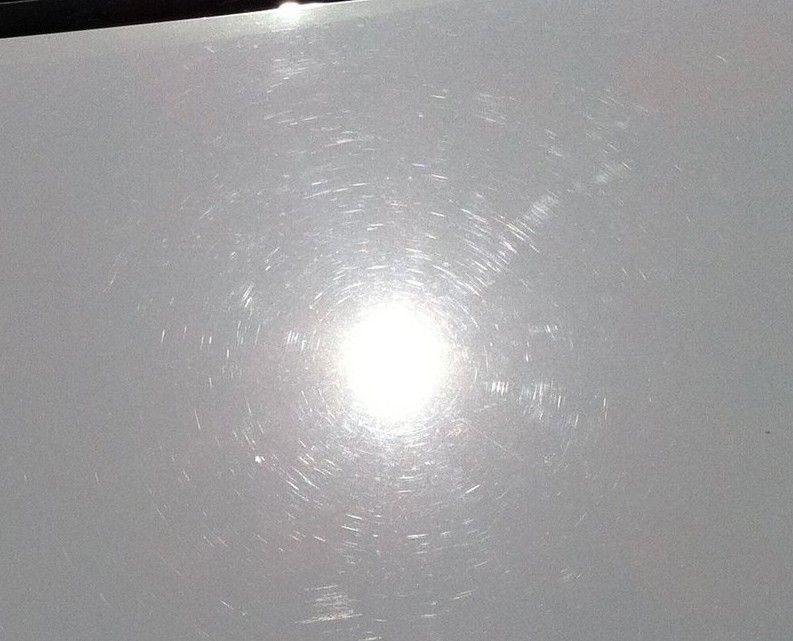
What are swirl marks?
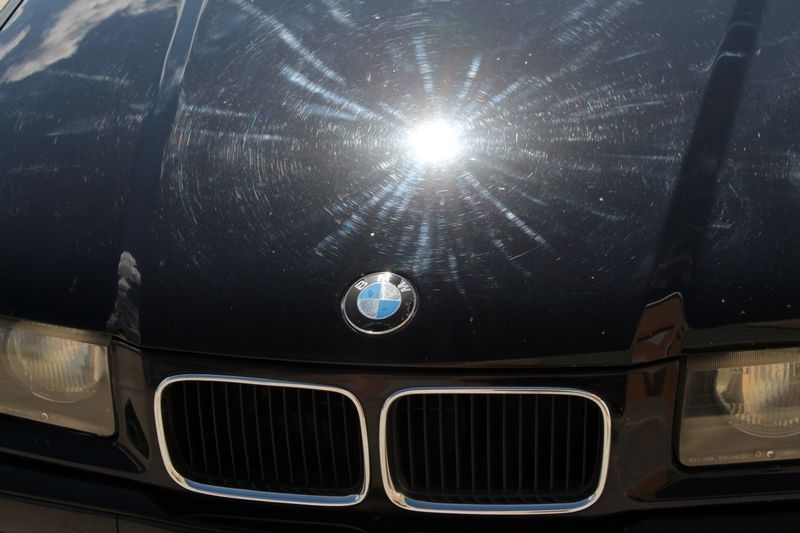
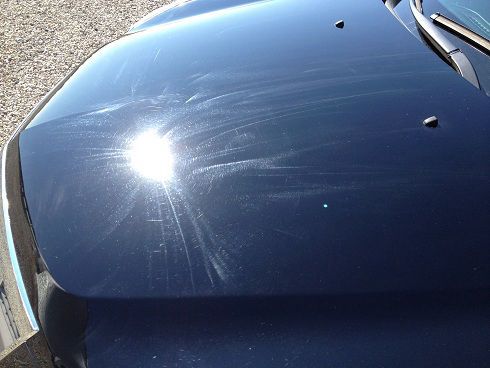
They are numerous tiny micro-scratches closely packed together, resembling a spider's web when viewed under the sun or a flashlight.
But don't worry as they exclusively impact the surface layer of your paint, the clearcoat in the majority of instances, so removing them is not a big problem.
Hood
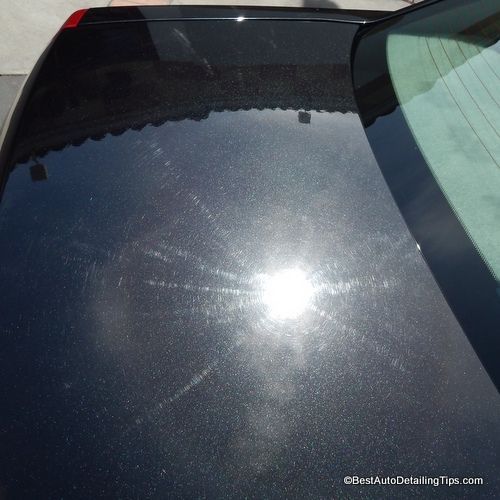
Trunk
What leads to the appearance of swirl marks on your car?
Swirl marks can surface for a variety of reasons and can be attributed to different persons/entities. But, the most common is improper washing or drying techniques when caring for your car.
These are the most common ones:
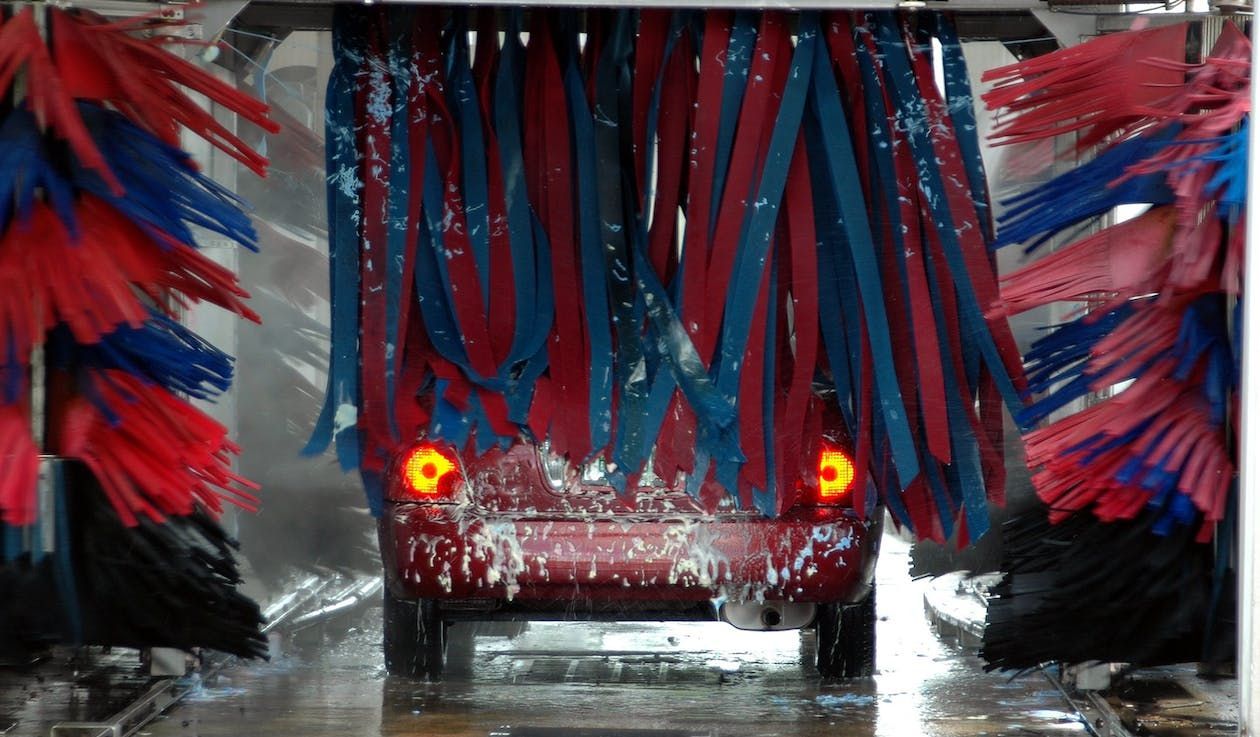
-Automated car washes:
The "brushes" that clean your car, typically remain in service for long periods of time without frequent changes. This can lead to some dirt and contamination buildup, and ultimately swirl marks, but with proper washing methods and care, your car's paint can stay in great condition.
-Car owners:
Many car owners might not be familiar with the most effective methods and the appropriate products/tools for washing their cars. But, with a little guidance and the right knowledge, anyone can achieve great results when caring for their vehicles.

Here are the most common mistakes car owners make:
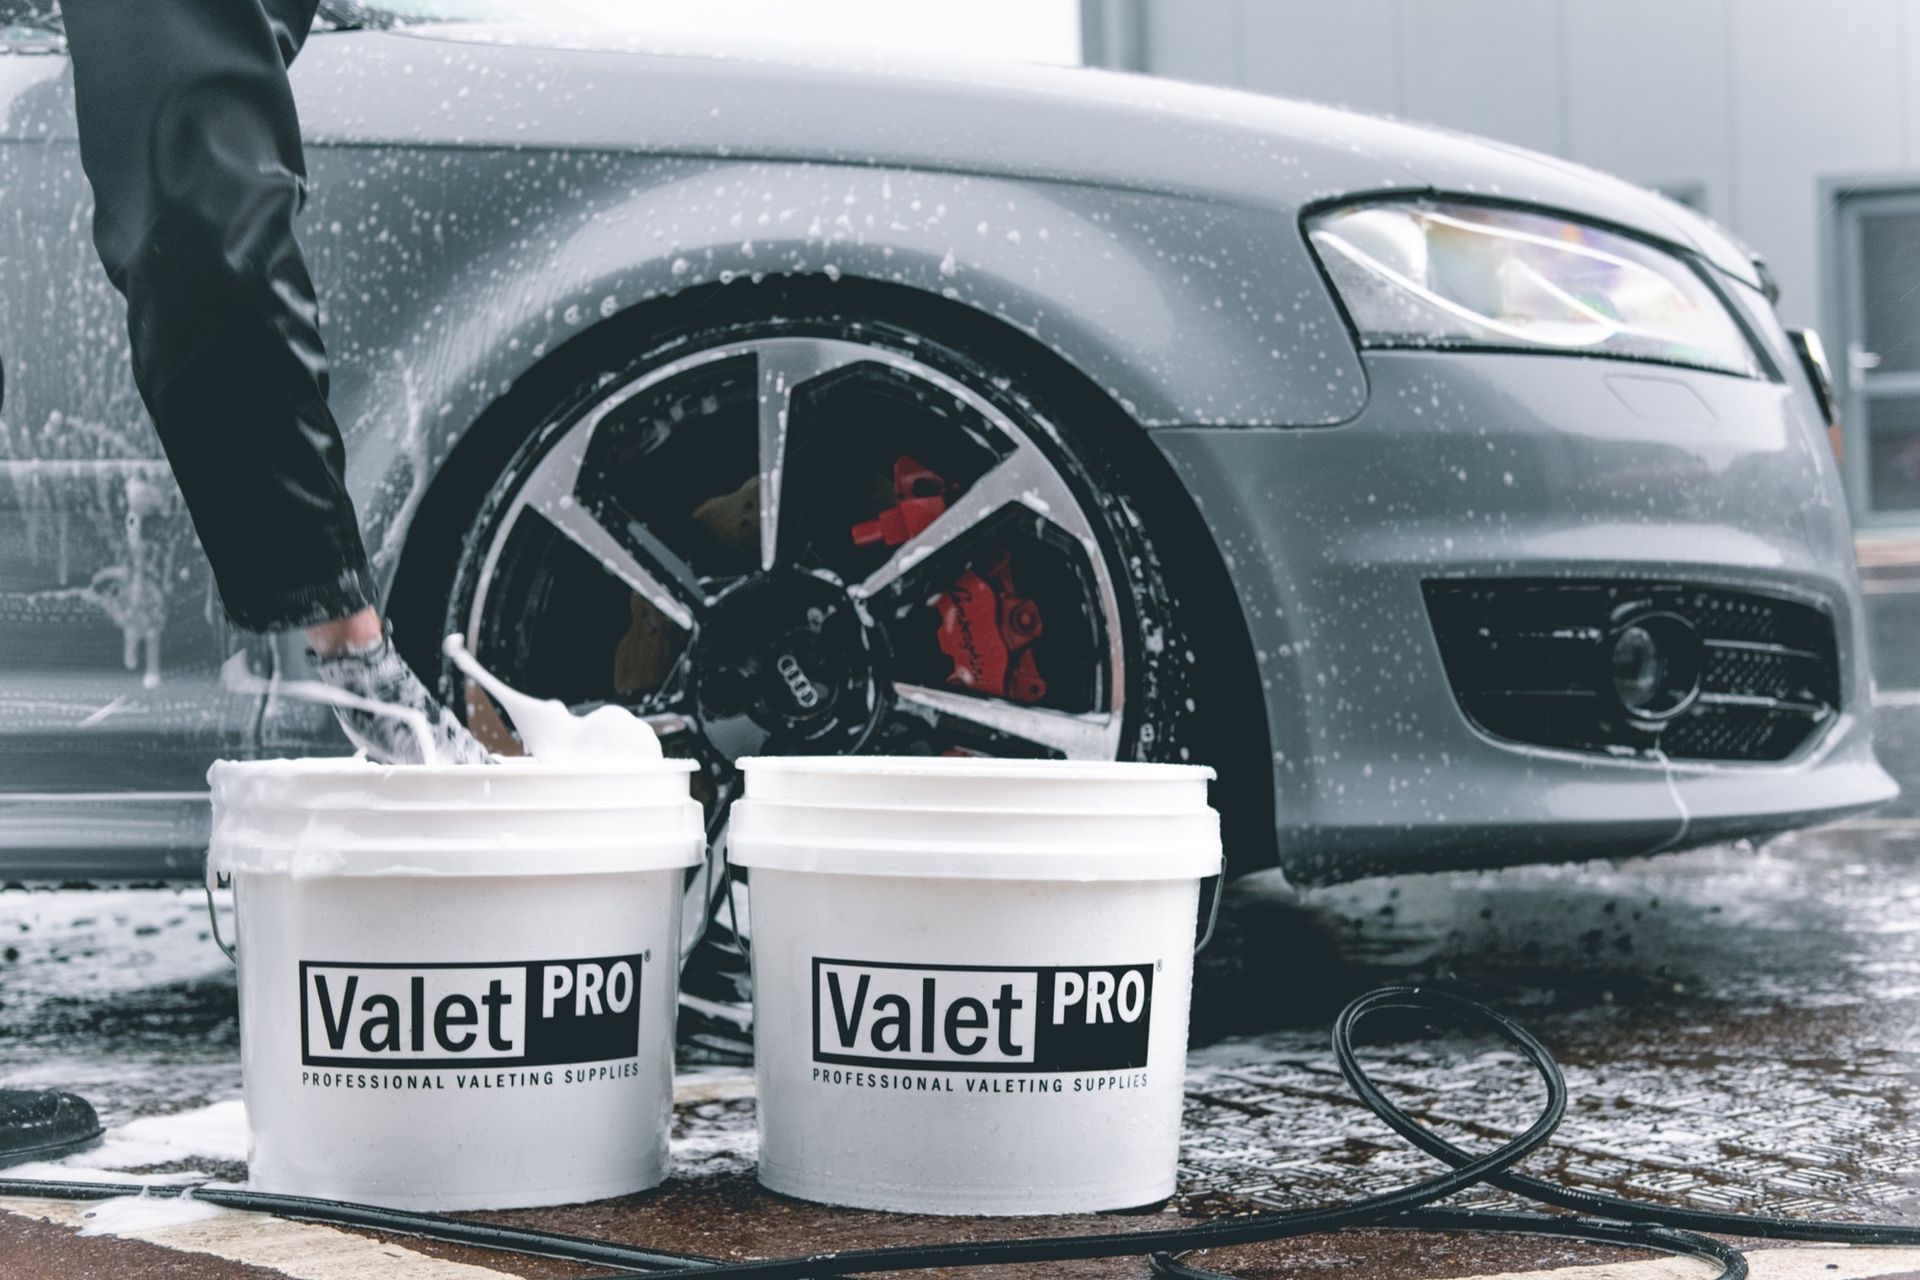
-Using only one wash bucket:
When washing your car using only one bucket will cause the dirt and grime to get dragged around causing more swirl marks, so use the two-bucket method to prevent it from happening, so your car can stay looking new for long periods of time.
-Using abrasive products:
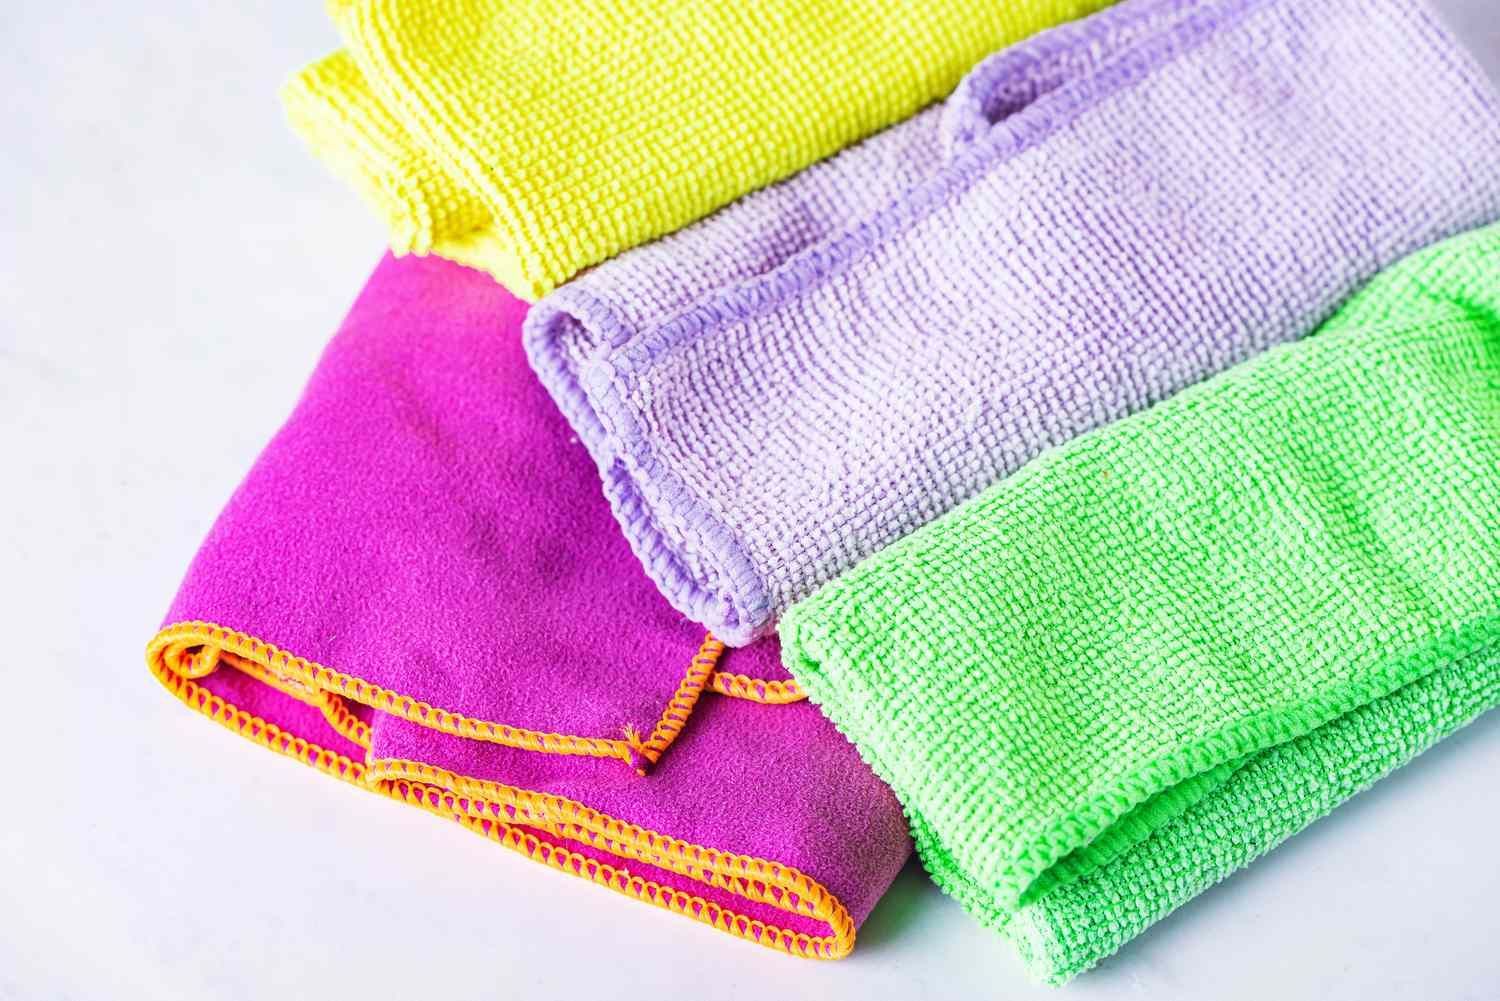
The use of harsh cleaning products not made for your car's paint, like microfiber towels made from polyester threads, abrasive compounding polish, and some paint cleaners that are too strong.


-Drying off:
When drying your car avoid using dirty towels instead use a clean high quality microfiber towel, so you can keep your paint scratch-free.
-Untrained professionals:
Untrained Professional car detailers can sometimes make mistakes, but it's not their fault as they probably haven't received the right guidance and training.
Therefore in certain situations, rather than a glossy finish, you may encounter some swirl marks or minor imperfections left behind, which can be addressed with the proper paint correction methods.
If all you received from an inexperienced professional was just swirl marks, consider yourself lucky as it could have been far worse, maybe even requiring a repaint.
On what surfaces are swirl marks usually found?
Swirl marks can appear on virtually any surface of your vehicle, but they tend to be on areas like the roof, the hood, and the trunk.
Also, it's worth noting that dark-colored vehicles might appear to have more of these marks, but the truth is, they're just more noticeable on a black car when compared to a lighter-colored one.
Now that you have a better grasp of swirl marks, let's explore the process of eliminating them, so you can restore that beautiful deep gloss to your vehicle.
How to get rid of swirl marks
This can be done by hiring a professional detailer or doing it yourself, in the instructions below we will show and teach you how to do an effective removal of the minor scratches.
If you are going to DIY it here is a list of materials you are going to need:
- Car Polish
- Foam Polishing Pads
- Machine Polisher (dual action polisher if possible)
- High-quality Microfiber Towel
- Clay Bar Kit
- Some kind of Light source (Sun or Flashlight)
- Polishing Compounds
- Hose or Water Source
- Buckets
- Paint protection (optional)
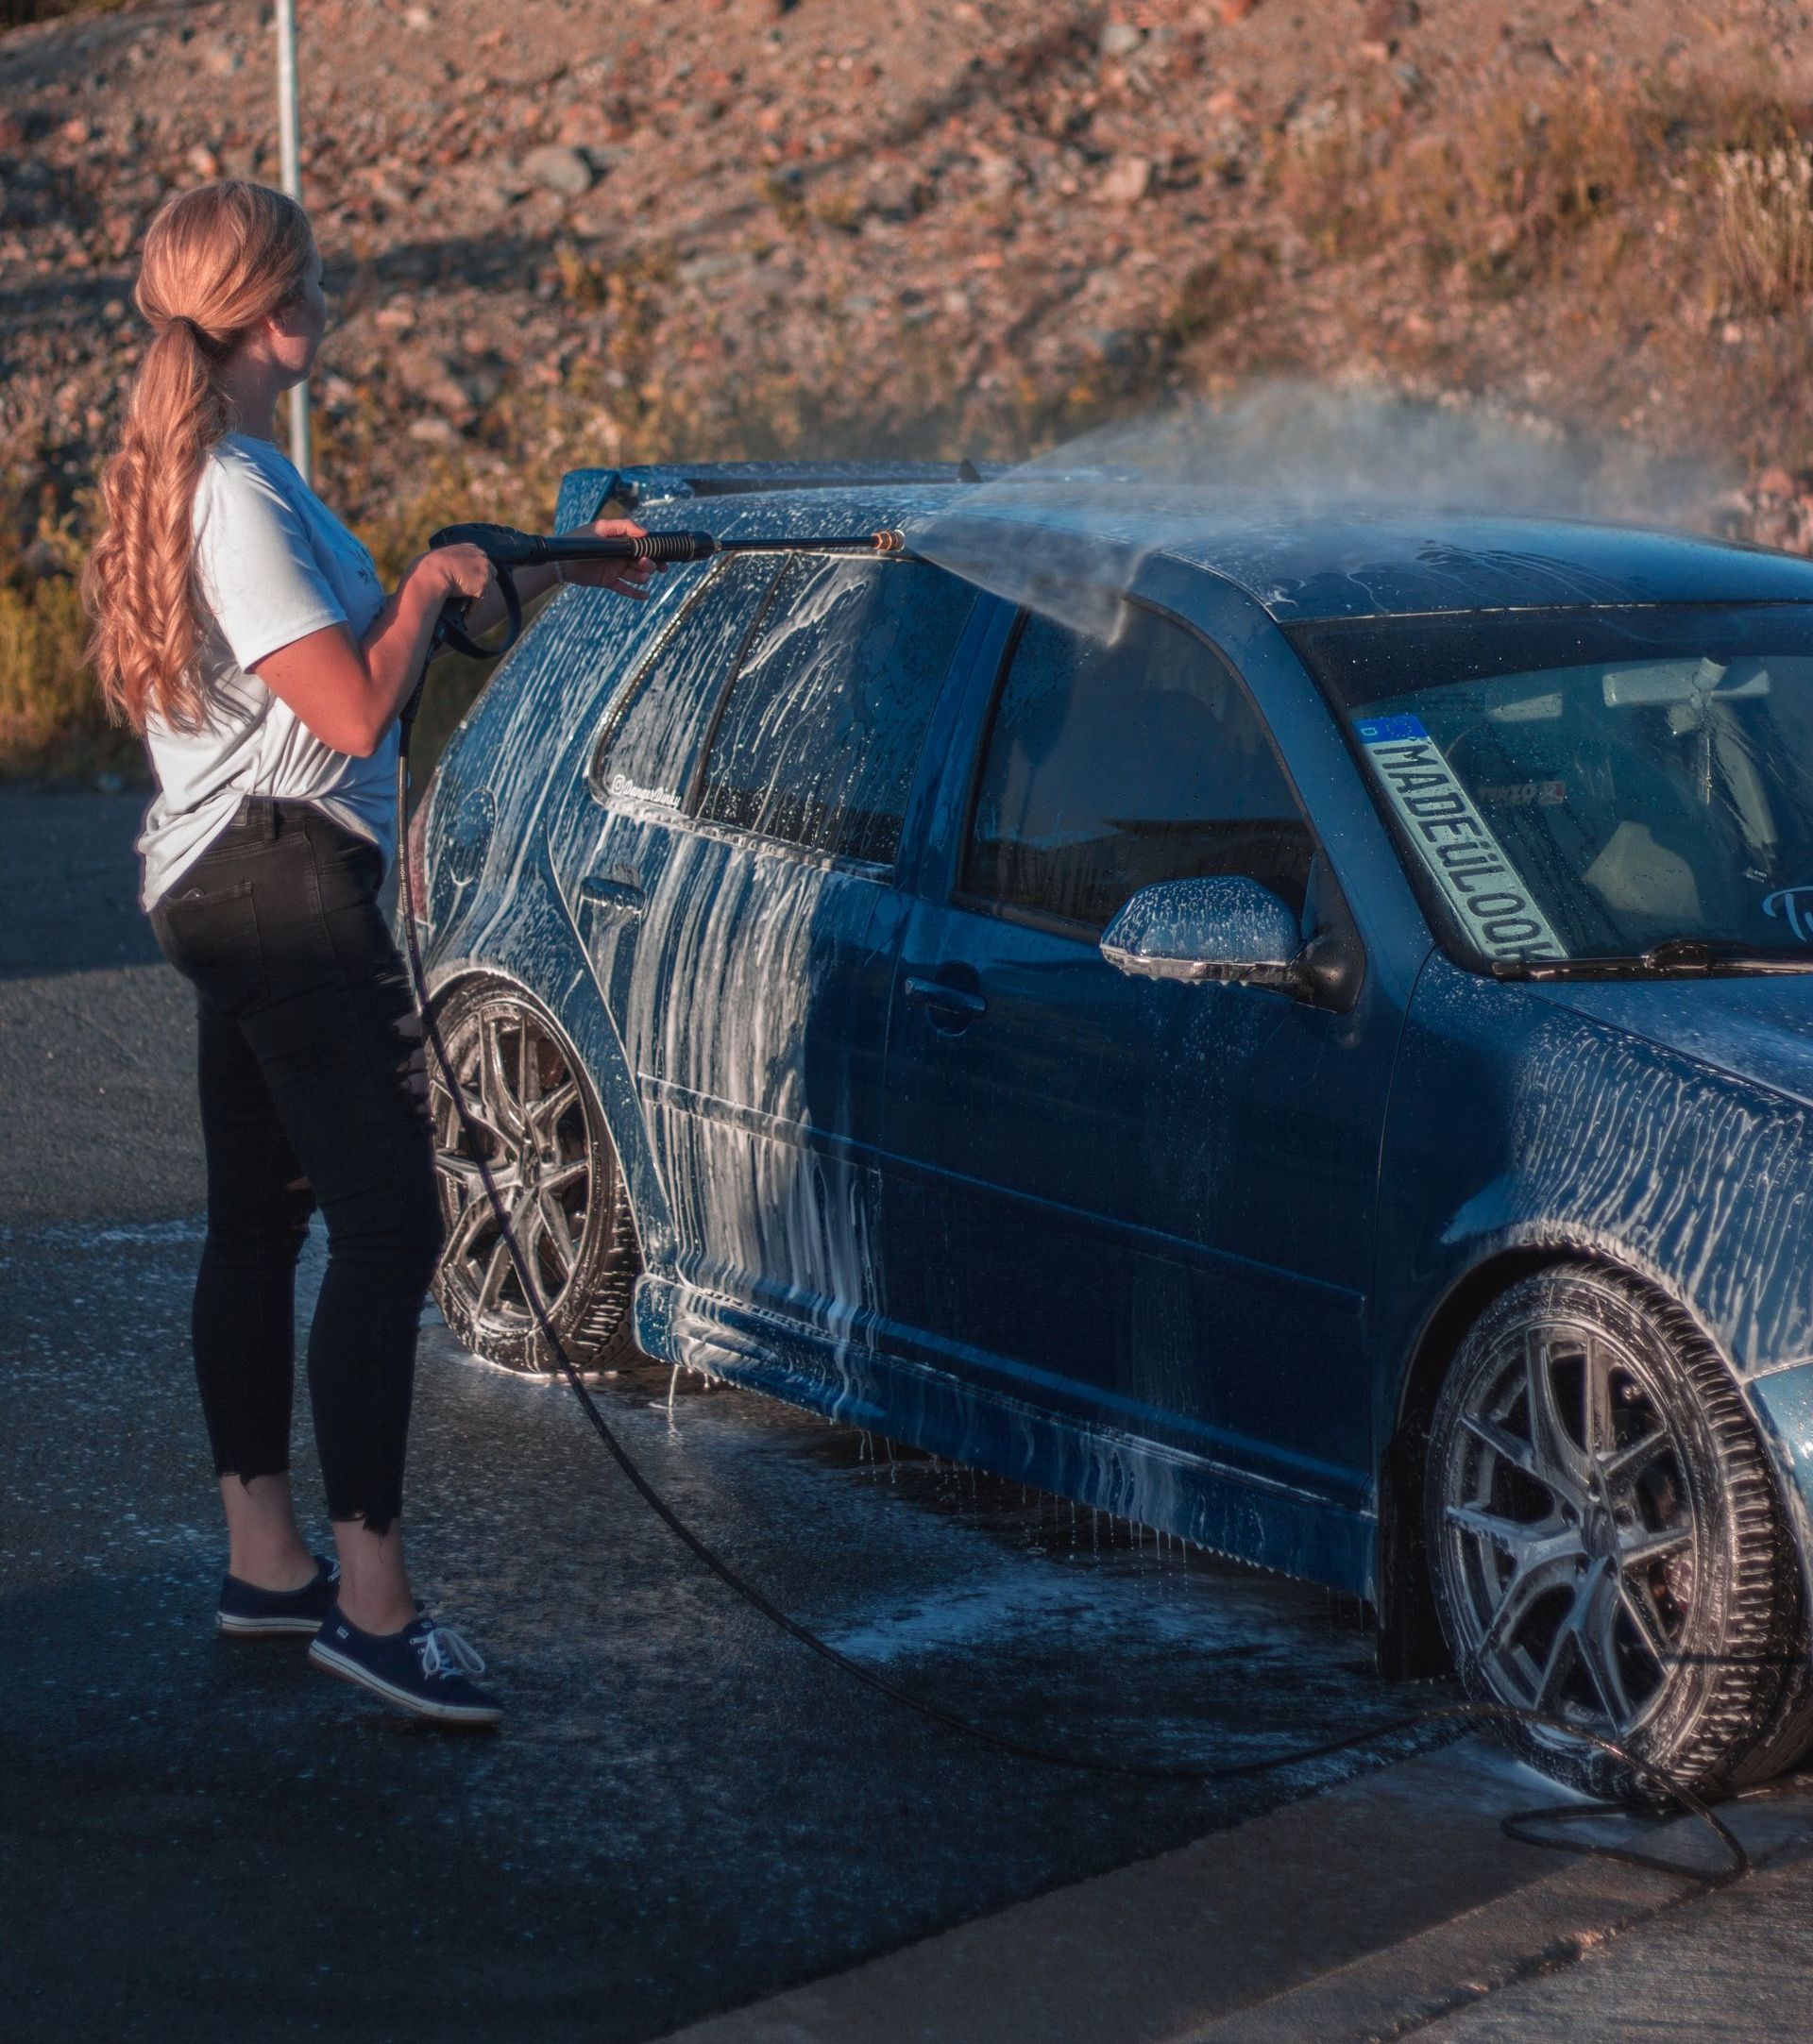
Step 1: Car wash
To begin you need to wash your car properly, using a pressure washer can be a good idea, but if you don't have access to one, don't worry and just use the two-bucket wash method.
Make sure that after the car is washed, there's nothing left behind, so you have a nice and clean surface.
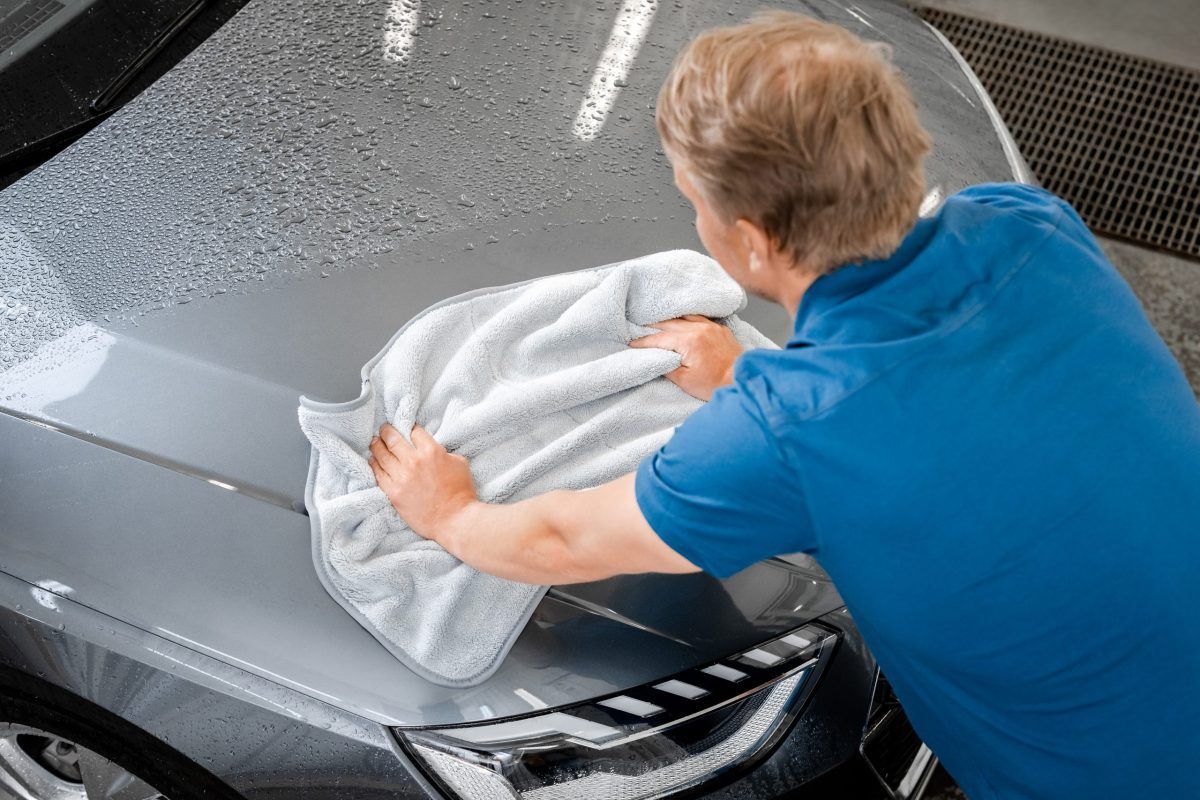
Once you're done washing it, use a clean dry towel to dry it off, avoid using the ones made from polyester threads.
Step 2: Clay bar decontamination
Before anything is done to the car, the paint has to be decontaminated, using a clay bar to remove any above-surface contaminants.
Above-surface contaminants are anything like overspray, rail dust, iron contamination, brake dust, industrial fallout, or pollution. It's important to remove this before polishing because it will reduce the cutting power of the machine.
Take your clay bar or clay mitt and use some clay lubricant (soap and water) to rub it against your paint.
Gently scrub the surface in up and down motions in straight lines with the clay, and you will notice how the clay bar gets your car a smooth surface after each pass, this happens because the clay removes all the contaminants off your paint.
Work in 2x2 sections and don't stop until your paint has a smooth finish.
Continue the same process throughout the whole car.

*Shoutout to Stauffer Garage*
Step 3: Paint inspection
With the aid of a flashlight, look directly at your paint and carefully inspect it, if it looks dull and you notice a lot of severe swirl marks you will need to do a 2-step paint correction.
On the other hand, if you only noticed light swirls/minor swirl marks then just by polishing it you are good to go. You may also notice other things like water spots, but don't worry they will come off and after you're done you will have a deeper level of gloss.
One thing to keep in mind is that the visibility of the pesky swirls can vary depending on the color of your car.

Step 4: 1 or 2-step paint correction
Polishing 1-step paint correction
The polishing process involves using very light abrasive compounds with tiny particles that gently rub away the paint imperfections from your car's paint surface with the aid of a machine polisher, we recommend using a Dual action polisher. This process restores the shiny finish your paint used to have.
Now it's time to begin polishing.
Put about dime-sized circles of polish onto your pad, about seven or eight of them.
Drag the pad around on the paint to spread the polish onto the surface, because if you turn it on full blast right away you'll fling it everywhere and we don't want that, it just gives you extra work.
So start off at a speed one or two and then for a dual action polisher, crank it up to about a five or six-speed.

Move the Dual action polisher slowly back and forth in circular motions overlapping with your previous pass, in this way, you'll be able to remove most swirl marks.
Make sure you're doing enough passes and you're going slow enough to break down the polish itself it is supposed to dry up to become chalky and do the work for you.
Once you've finished the first pass, using a high-quality microfiber towel remove the polish residue and inspect your paint again. With just a few passes you should be good to go and have a nice shiny finish.

2 step paint correction:
Instead of starting off right away with a polishing compound, you need to use a cutting compound that's more aggressive, this will remove deeper scratches and imperfections.
So take your Dual action polisher and put about dime-sized circles of polish onto your pad, about seven or eight of them.
Now outline the section you will be working with the cutting compound that is in your pad.
Start at speed 1 to spread all the compound in the area you're working on, once you do that, crank up the speed to 4-5 and apply moderate pressure. We want to take advantage of this compound while it's wet as it has the most cutting power.

Once you're done, with the first pass, use a high-quality microfiber towel remove the cutting compound residue, and inspect your paint again, use a flashlight and repeat till you achieve the level of gloss you want.
Now repeat the same process detailed above, but this time use a finishing polishing compound, this should give you a deeper gloss and a shiny finish.

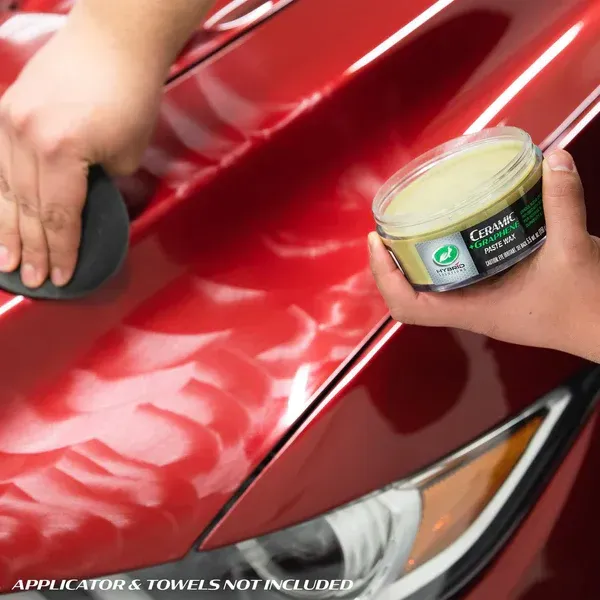
Step 5: Protect your paint (optional)
It can be a great idea to apply a layer of protection to your paint after the process is finished, especially if your car is a daily driver.
The most common is wax, but that is just a temporal solution, now as of today quick spray ceramic sealants are a better option as they last longer and protect more, but if you do not want to apply protection on a regular basis, ceramic coatings are your best shot, we recommend going for the 1-year option.


If you've made it this far, you probably want to get rid of the swirl marks but after reading the article, you dont want to do it yourself.
So let's get straight to the point, if having a glossier paint finish will make you feel like a badass then call us , but if you're cool with a dull faded-looking finish, well, that's free of charge.